Creating the Ideal Workspace - Redesigning The Star Manor Office
For those following along the Star Manor Restoration journey, you might remember the bathroom my husband and I refinished not too long ago. While the bathroom remodel was happening, we got started on re-designing my office space. The Star Manor Office is a beautiful space with plenty of light, with an original fireplace included in the room. With most rooms in this house, you need a creative eye and a future vision to see the beauty of each space come to life.
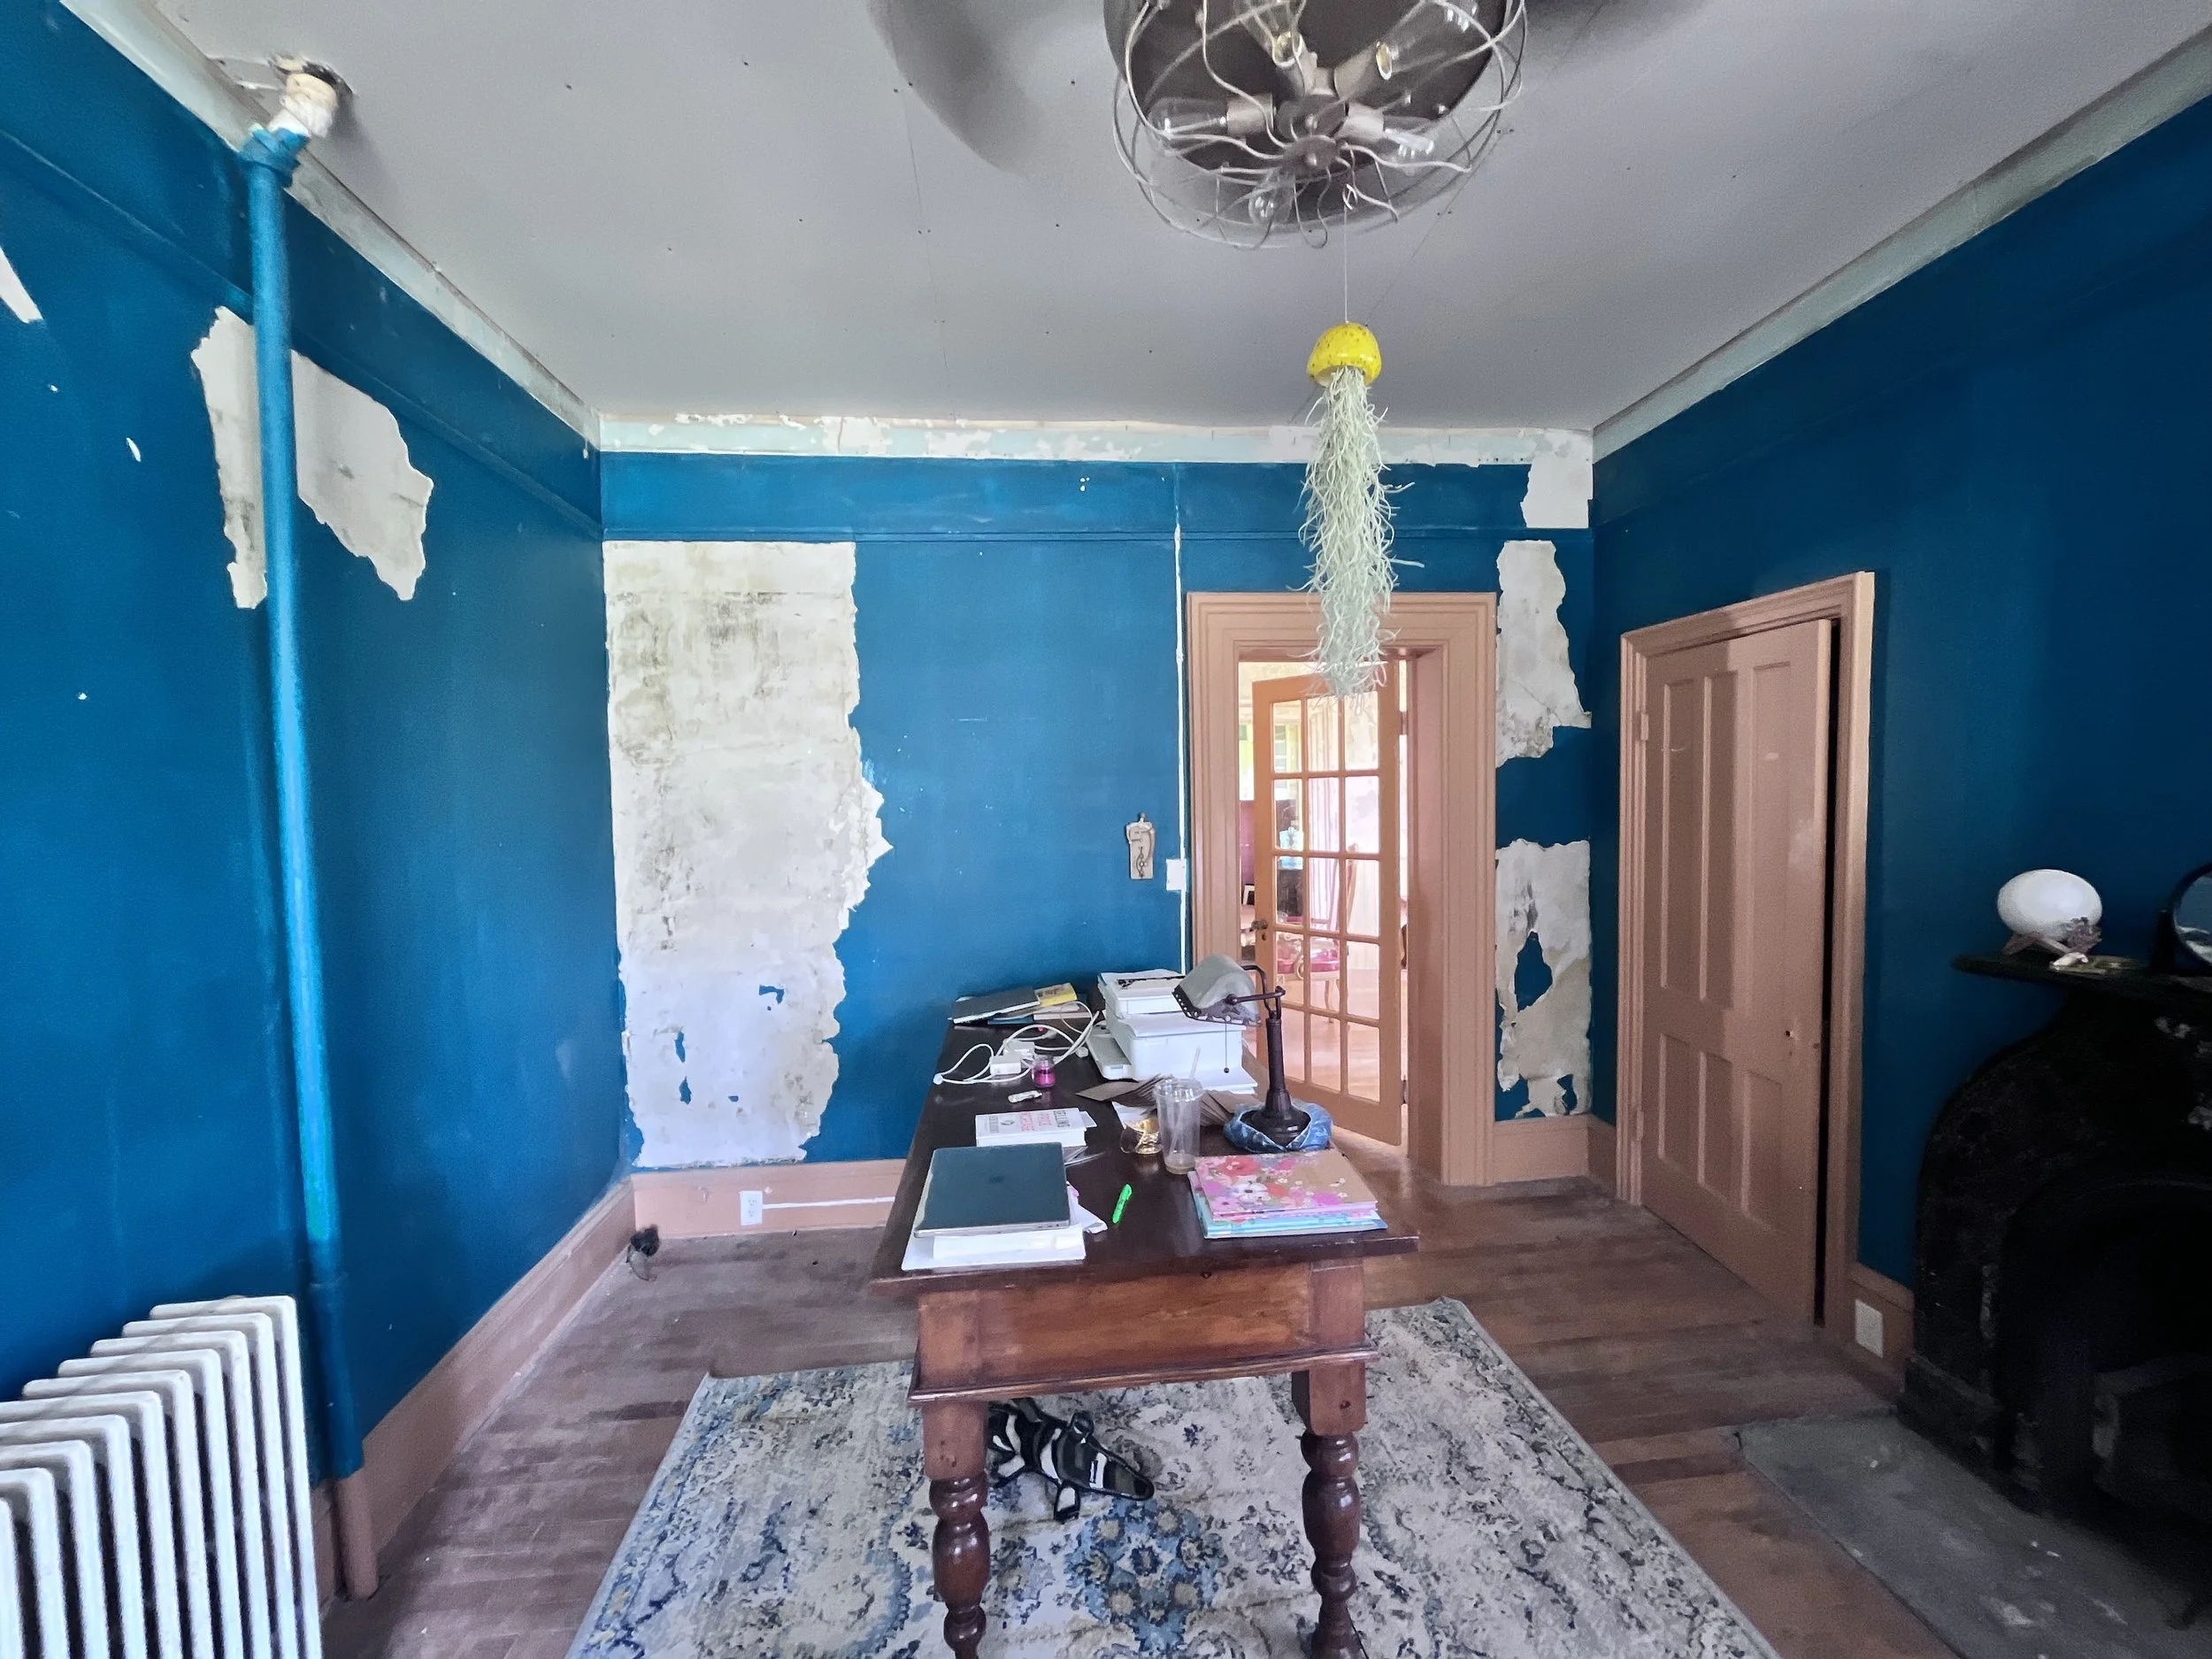
Before we got started, this room had peeling paint and spiders in every nook and cranny. Check out the images below if you don’t believe me!
I generally create inspiration/vision boards before starting each room but I knew exactly what I wanted my office space to look like. My goal was to make this office space a place for me to have great business conversations, generate profitable ideas, and get quality work done. For me, this meant Wilderness Trail Green molding and Intellectual Gray walls. However, I am getting ahead of myself, let’s start off with work that needed to be done first.
We covered my workspace in plastic and Matt got started with patching the walls. There was so much material used for this effort! Not only did every wall require some decent work to repair and somewhat level it out, but there was lots of scrapping that needed to be done before hand to even reach a point of actual work.
Luckily for me, my husband is superman and got it all done in a matter of days! Since I’m pregnant, I wasn’t much help in this area due to all the dust flying around.
After the walls dried, he got back in here with a mask and sanded the entire room - which is no small task. After this was finished, the office was ready for it’s first coat of paint. We did this a little backwards and painted the molding first to allow for some extra time for the walls to settle. Lots of cleaning went into the prep work to remove the dirt, dust, and grime that built up over time. Check out the images below to see how big of a difference the Wilderness Green made on the original molding!
The molding took up a substantial amount of time, but Matt and I tackled it together to help speed up the process. The next step was to paint the walls, which as I stated above, was going to be an Intellectual Gray. Initially, we forgot to pick up the paint at Lowes so we settled for a Walmart paint that looked similar. Once we put it on the walls, it was far too light and not what I was looking for. The good thing is, this wasn’t a total waste of money since we could use that color in other spaces and it acted as a nice first coat to cover up the original blue walls.
Once the walls had time to dry, our ceiling tiles got delivered (thank goodness for Amazon Prime Day) so we immediately got started on getting those tiles up.
LIFE HACK: You don’t need to spend gobs of money on expensive ceiling tiles. Especially for a job of this size, where most rooms require ceiling work, we were aiming for affordable but classy tiles to match some of the original tin ceilings you can find throughout some rooms in Star Manor. You would never know it, but the tiles we used are actually styrofoam! When you see the price of these babies, you’ll consider adding this low-cost option in your home too.
As always, I’ll include a cost table below to show you the total cost of this project. This took us about one week to get done outside of our normal jobs, with very long hours on the weekend.
Check out the cost breakdown for my office.
The only pricey item on here is the ceiling tiles. If you read above, we saved a decent amount of money with our choice in ceiling. Plus, we had some leftover tiles to use in other rooms!


